Resetting the STT IVA
Step 1: Accessing the air system
Remove the red handling strap (if still attached) by unfastening the (5x) 2” Fastex buckles from the sides and top of the bag. If the actuation safety pin and manual pull lanyard are installed, no need to remove them, simply set aside and continue procedure.
System prepped and ready to dive
Handling strap removed
Step 2: Unzip the lift bag
Grabbing the bag by the top of the zipper, pull the zipper handle firmly and smoothly to open up system.
*If bag is difficult to manipulate, it is likely due to suction from vacuum de-bulking. Once you crack the zipper, system will equalize and bag will be easy to manipulate.
Zipper open
To ease access, pull the bag carefully over the entire inner system to expose chassis and bottles.
Bag pulled over system
Step 3: Bleeding Down
Shut the bottle valves off, turning by hand clockwise until tight. This will retain approximately 50 psi of air in the tanks, preventing a mandatory disassembly and visual inspection when you go to recharge them.
Knurled Knob on lower right is Bottle Valve
Bleed the air out of the system using the bleed screw on the air manifold on top of the system. Looking at it from the top view, the bleed screw is a silver thumbscrew disc on the right side of the manifold. Turning this disc counterclockwise to loosen, listen for a small bleed down air burst as it bleeds the lines and valve. You likely won’t hear the valve reset. You may see the bottle air pressure gauges drop slightly to zero.
Pointing to bleed valve
Step 4: Actuation Safety Pin and Lanyard reset
The STT-IVA system, designed specifically for repetitive use, employs a proprietary automatic resetting poppet which resets itself once it is bled down. Unlike prior and legacy systems, the operator does not need to manually reset the valve. This is an industry first.
Instead, the operator need only re-install the manual pull lanyard (which is ejected regardless of deployment method) and reinstall the pin.
Remove black cable guide cap to access pin.
Use needle nose pliers to pull pin all the way out. This will likely not need to happen if system was last actuated pneumatically, as it tends to drive it all the way.
Feed manual pull lanyard back through guide before reinstalling
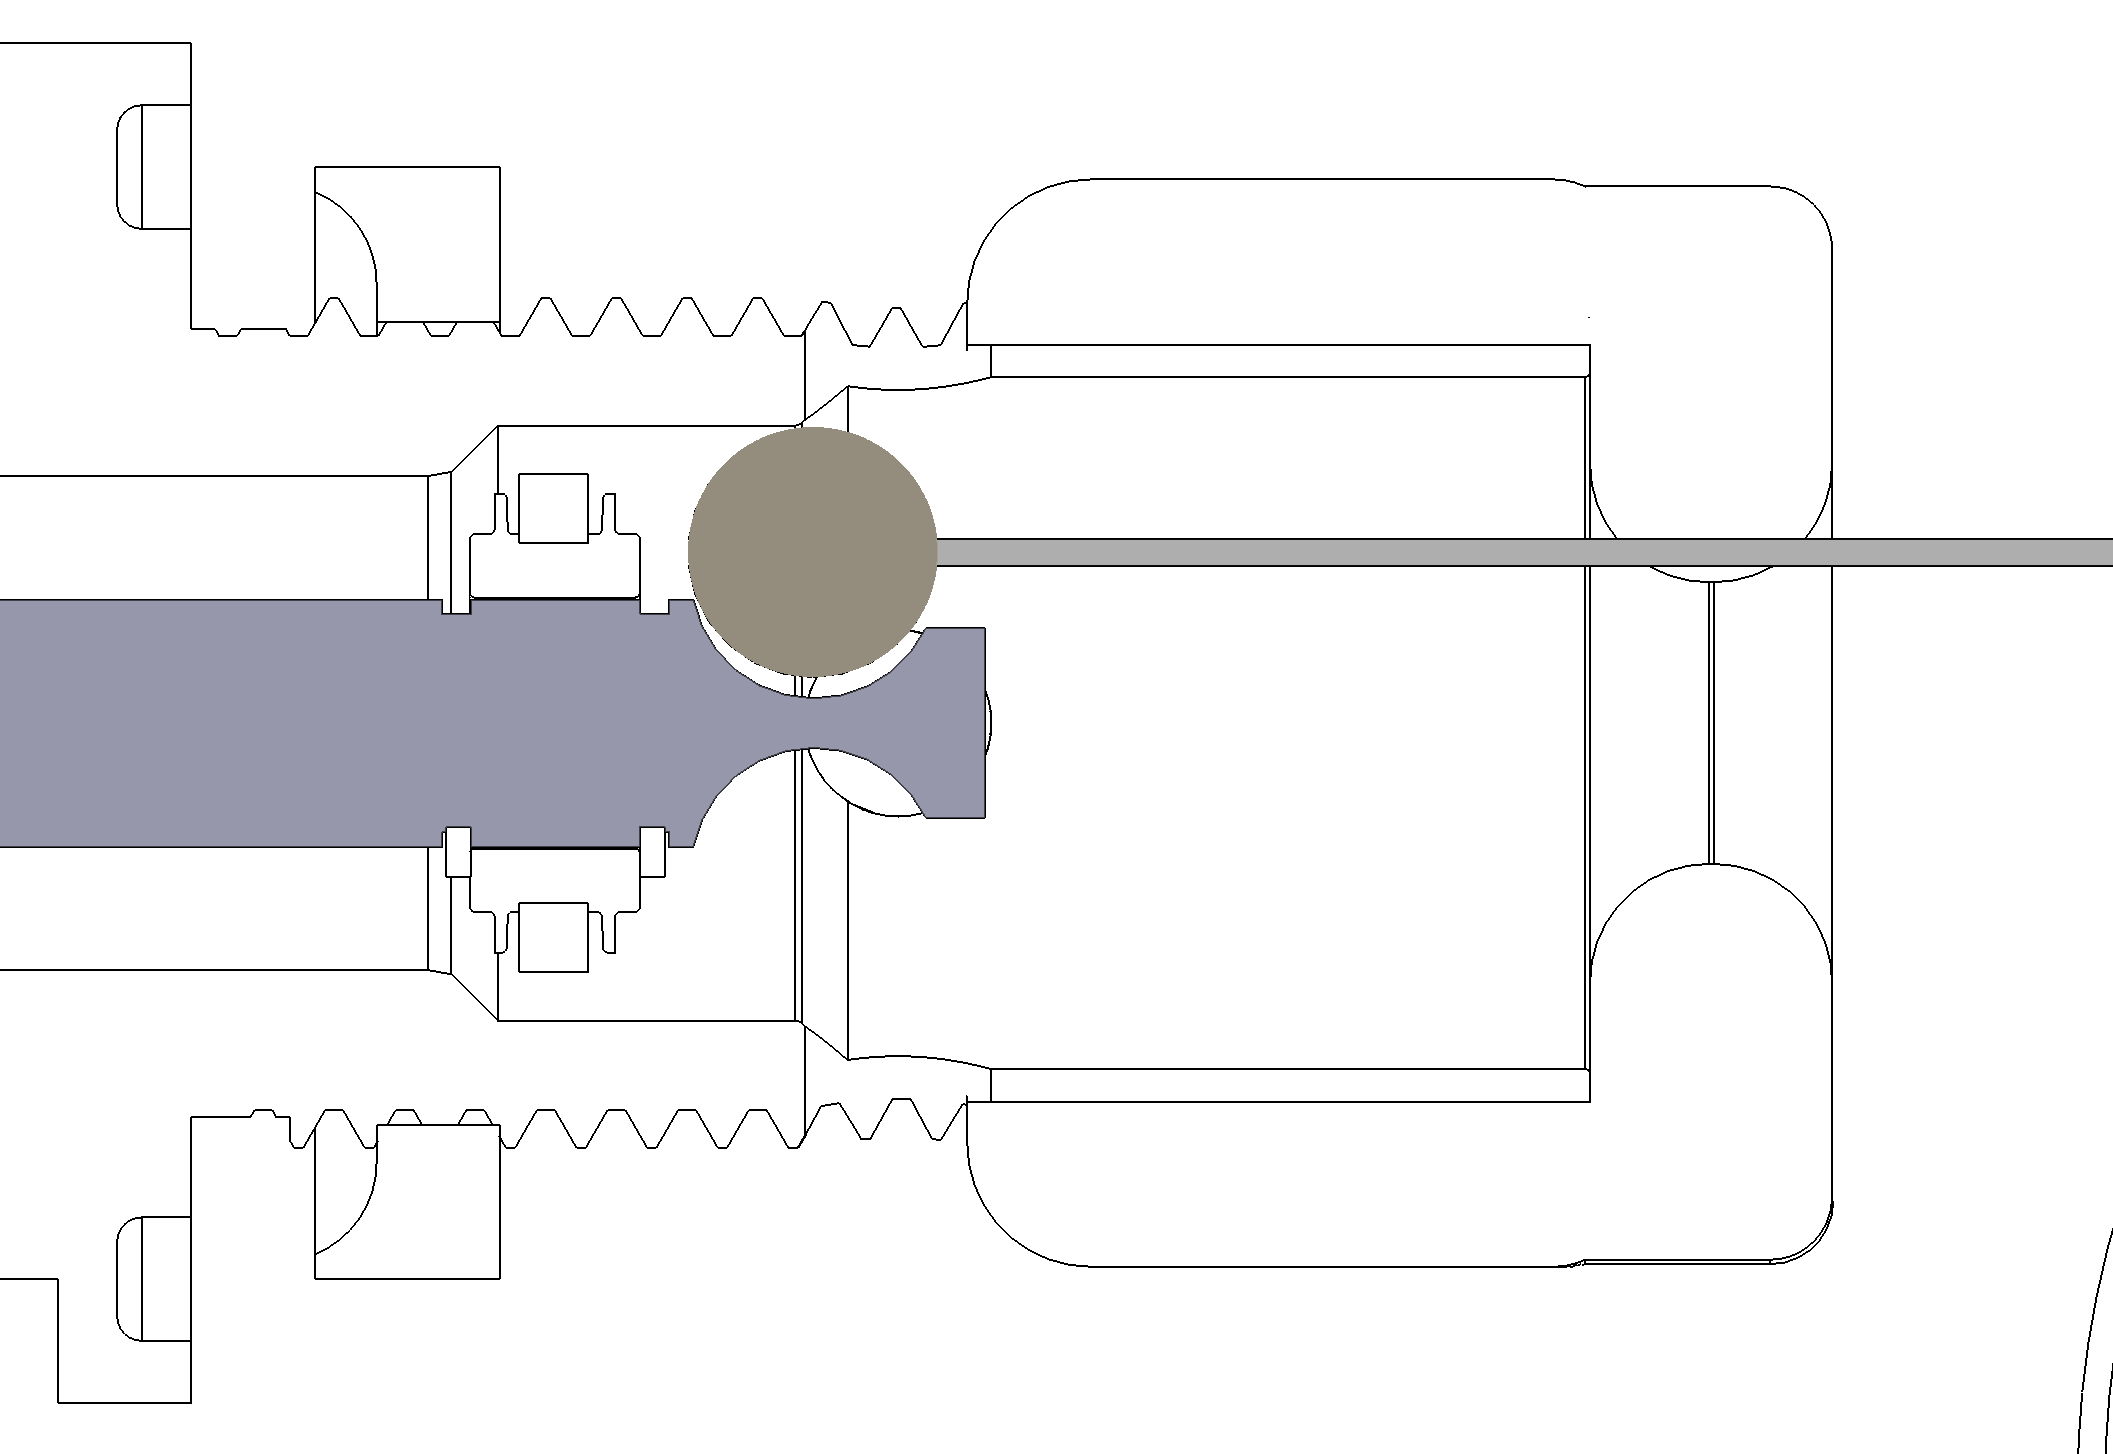
Push lanyard ball around the side of the actuator pin, into the pin cutout and apply backward pressure. You will usually hear a light “click” when it has gone around the side properly.
Using one of the locking pins, or a pen, the needle-nose pliers or (almost) any other small thin tool (pinky has worked in the past…) push the pin back into seated reset position.
Reinstall actuator safety pin (tied to handling strap)
Reinstall cable guide cap
Pull sharply on lanyard to make sure engagement is positive
Actuator Pin Reset Cutaway Diagrams


